Shell Commands
JupyterHub
-
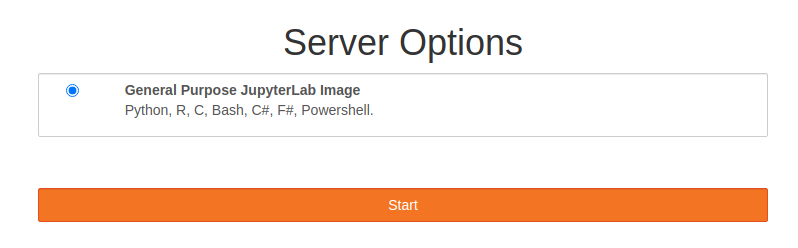
Navigate to JupyterHub
- an online environment where you can code and explore the Shell.
-
Login to JupyterHub using your CCCU user account credentials.
-
Start your server...
-
Open shell environment and
cdtoNOS,$ cd ~/NOS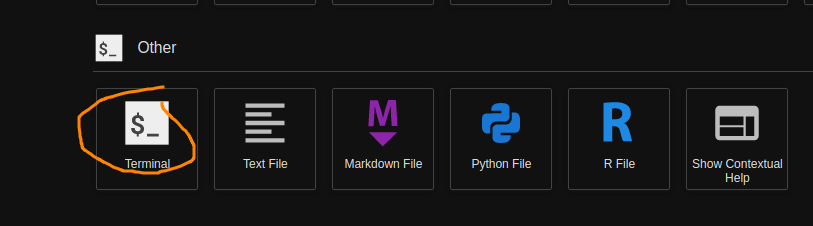
-
Make new directory,
$ mkdir shell_commands
1. Dates
-
First run the
datecommand in the terminal.$ dateOutput: will be something like this...
Mon 27 Feb 13:58:41 GMT 2023 -
So how do we get different formats?
Well if in doubt you can check the
manpages or use the commands--helpflag$ date --help -
Looking at the output workout how to produce this format:
> 20230227Answer
date +"%Y%m%d" -
Now modify this output to display:
> Year: 2023, Month: 02, Day: 27Answer
date +"Year: %Y, Month: %m, Day: %d" -
The most common formatting characters:
%D– Display date as mm/dd/yy%Y– Year (e.g., 2020)%m– Month (01-12)%B– Long month name (e.g., November)%b– Short month name (e.g., Nov)%d– Day of month (e.g., 01)%j– Day of year (001-366)%u– Day of week (1-7)%A– Full weekday name (e.g., Friday)%a– Short weekday name (e.g., Fri)%H– Hour (00-23)%I– Hour (01-12)%M– Minute (00-59)%S– Second (00-60)
-
Using the above information and what previous steps reproduce the ISO 8601 standard for datetime.
> 2023-02-27T12:08:45ZAnswer
$ date +"%Y-%m-%dT%H:%M:%S:%NZ"%Y– Year (e.g., 2020)%m– Month (01-12)%d– Day of month (e.g., 01)T– self delimeter%H– Hour (00-23):– self delimeter%M– Minute (00-59):– self delimeter%S– Second (00-60)Z– self delimeter
-
Amend the last command so that after seconds you get nano seconds.
> 2023-02-27T12:14:03:281999558ZAnswer
$ date +"%Y-%m-%dT%H:%M:%S:%NZ"%Y– Year (e.g., 2020)%m– Month (01-12)%d– Day of month (e.g., 01)T– self delimeter%H– Hour (00-23):– self delimeter%M– Minute (00-59):– self delimeter%S– Second (00-60):– self delimeter%N– nanoseconds (000000000..999999999)Z– self delimeter
Task 2. Manipulating inputs and outputs
-
working with the previous command lets strip out the
T,:s andZso that we are left with only numnbers. -
Using
awkwe can manipulate the output by piping|the output ofdateinto awk - first run this command$ date +"%Y-%m-%dT%H:%M:%S:%NZ" | awk "{print $1}" > 2023-02-27T12:20:40:005619503Zawkwith the argumentprint $1will print the first argument... ie the output ofdate
-
Now lets remove the
T$ date +"%Y-%m-%dT%H:%M:%S:%NZ" | awk -F 'T' '{print $1}' > 2023-02-27 -
What happens when you do $2 on the same command as above?
Answer
> 12:50:48:341942600ZThis is because the input has been split and now
- $1 = 2023-02-27
- $2 = 12:20:40:005619503Z
-
Change the delimeter
-F 'T'to-F ':'and repeat both steps as before:Answer
$  date +"%Y-%m-%dT%H:%M:%S:%NZ" | awk -F ':' '{print $1}'
>  2023-02-27T12
$ date +"%Y-%m-%dT%H:%M:%S:%NZ" | awk -F ':' '{print $2}' 55 $ date +"%Y-%m-%dT%H:%M:%S:%NZ" | awk -F ':' '{print $3}' 32 $ date +"%Y-%m-%dT%H:%M:%S:%NZ" | awk -F ':' '{print $4}' 473072761Z -
You can put these together using the print {$2$3$4$}, try.
sh date +"%Y-%m-%dT%H:%M:%S:%NZ" | awk -F ':' '{print $2$3$4}' 5719707652042Z -
Experiment with this and consider piping with awk to see if you can get:
20230227130026355420256Answer
$ date +"%Y-%m-%dT%H:%M:%S:%NZ" | awk -F '[-T:Z]' '{print $1$2$3$4$5$6$7$8$9}'
20230227130026355420256